Fishing is as much about skill and technique as it is about patience and luck. One of the most essential skills for any angler is knowing how to tie various fishing knots. A well-tied knot ensures that your hook, lure, or bait remains securely attached to your line, and can mean the difference between landing a big catch and telling a story about the one that got away. In this comprehensive guide, we will explore some of the best fishing knots and provide step-by-step instructions on how to tie them.
1. The Improved Clinch Knot
The Improved Clinch Knot is one of the most popular knots among anglers for attaching the fishing line to the hook, swivel, or lure. It’s simple, reliable, and effective.
How to Tie the Improved Clinch Knot:
- Thread the Line: Pass the end of the fishing line through the eye of the hook or lure.
- Wrap the Line: Wrap the tag end around the standing line five to seven times.
- Pass Through the Loop: Pass the tag end through the small loop just above the eye of the hook.
- Thread Through the Big Loop: Pass the tag end through the big loop created by the previous step.
- Tighten the Knot: Moisten the knot with water or saliva and pull the tag end and the standing line to tighten the coils. Trim the excess line.
2. The Palomar Knot
The Palomar Knot is known for its strength and simplicity, making it ideal for tying braided lines to hooks or lures.
How to Tie the Palomar Knot:
- Double the Line: Double about six inches of line and pass it through the eye of the hook or lure.
- Tie an Overhand Knot: Tie a loose overhand knot with the doubled line, ensuring the hook hangs from the bottom.
- Pass the Hook: Pass the loop of the doubled line over the hook or lure.
- Tighten the Knot: Moisten the knot and pull both the standing line and the tag end to tighten. Trim the excess line.
3. The Uni Knot
The Uni Knot is versatile and can be used for attaching the line to the hook, tying two lines together, or forming a loop.
How to Tie the Uni Knot:
- Thread the Line: Pass the line through the eye of the hook or lure and double back, forming a loop.
- Make Wraps: Make five to six turns with the tag end around the double line and through the loop.
- Tighten the Knot: Moisten the knot and pull the tag end to tighten the coils around the standing line. Pull the standing line to slide the knot down to the eye. Trim the excess line.
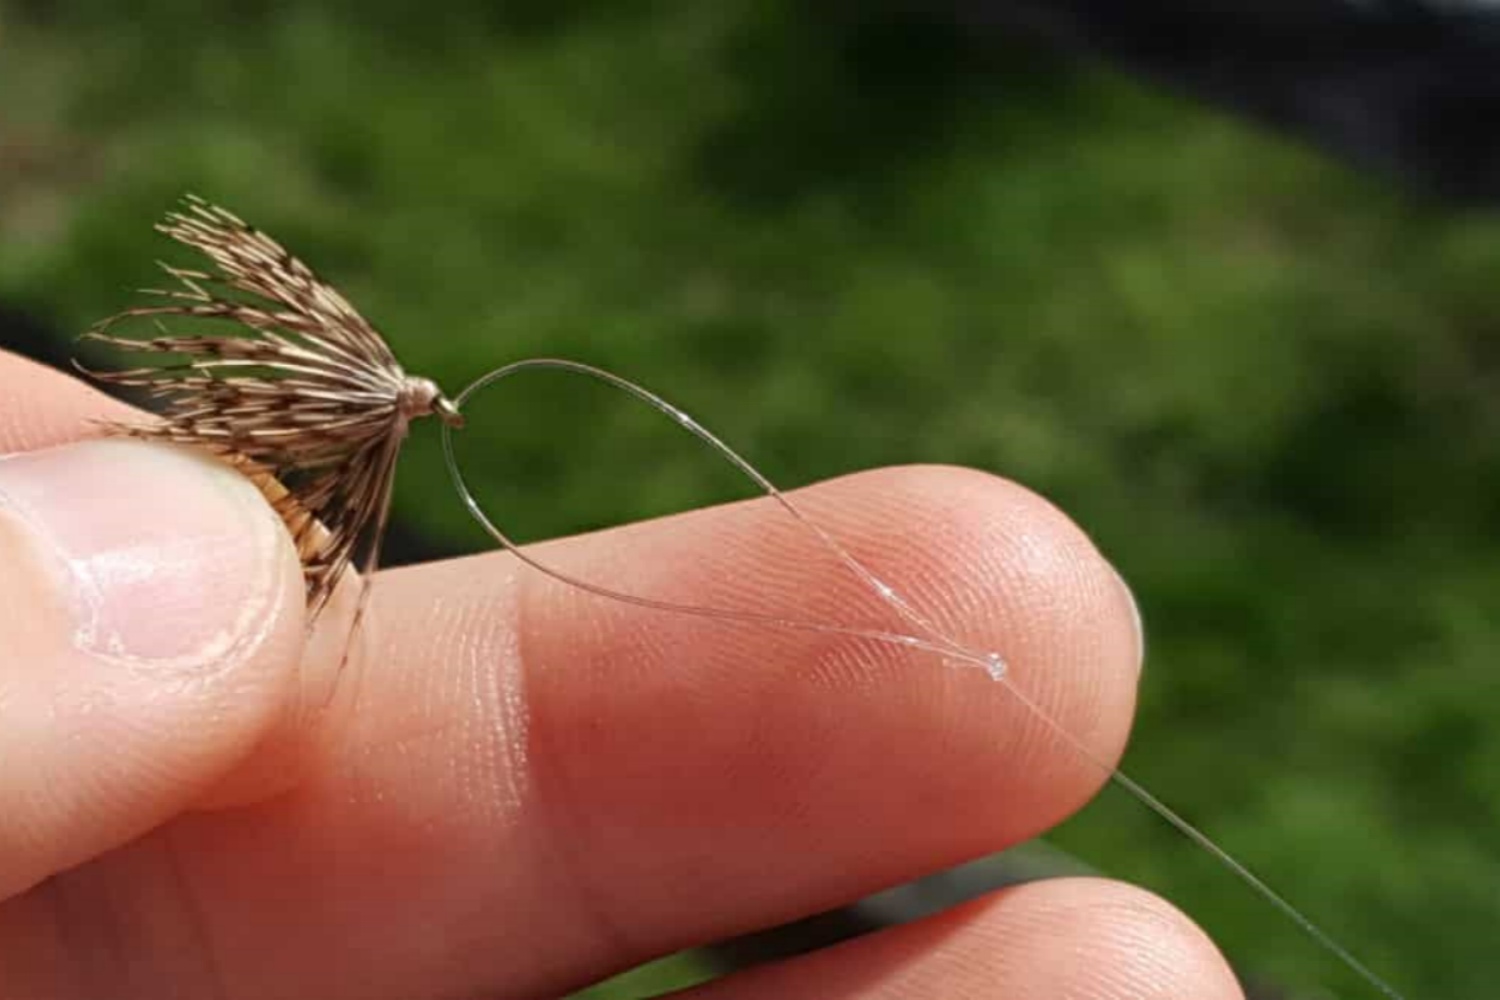
4. The Loop Knot
The Loop Knot is ideal for giving lures or flies more action as it allows them to move freely in the water.
How to Tie the Loop Knot:
- Make a Loop: Form a small loop at the end of the line.
- Thread the Line: Pass the end of the line through the eye of the hook or lure, then back through the loop.
- Wrap the Line: Make five to six turns around the standing line with the tag end.
- Pass Through the Loop: Pass the tag end back through the loop.
- Tighten the Knot: Moisten the knot and pull the tag end and the standing line to tighten the coils. Adjust the loop size if necessary and trim the excess line.
5. The Blood Knot
The Blood Knot is commonly used for joining two pieces of monofilament line together.
How to Tie the Blood Knot:
- Overlap the Lines: Overlap the ends of the two lines to be joined.
- Wrap Each Line: Wrap the first line around the second line five to seven times, then pass the end of the first line back between the two lines.
- Repeat with the Second Line: Wrap the second line around the first line five to seven times, then pass the end of the second line back between the two lines in the opposite direction.
- Tighten the Knot: Moisten the knot and pull both standing lines to tighten the coils. Trim the excess line.
6. The Albright Knot
The Albright Knot is perfect for connecting lines of different diameters or materials, such as tying a braided line to a monofilament leader.
How to Tie the Albright Knot:
- Make a Loop: Form a loop in the thicker line (e.g., the monofilament leader).
- Wrap the Line: Pass the end of the thinner line (e.g., the braided line) through the loop and wrap it back over itself and both strands of the loop 10 to 12 times.
- Thread Through the Loop: Pass the end of the thinner line back through the loop.
- Tighten the Knot: Moisten the knot and pull both ends of the thinner line and the standing line of the loop to tighten the coils. Trim the excess line.
7. The Double Uni Knot
The Double Uni Knot is another great option for joining two lines, especially when the lines are of similar diameter.
How to Tie the Double Uni Knot:
- Overlap the Lines: Overlap the ends of the two lines to be joined.
- Tie the First Uni Knot: With the first line, form a loop and make five to six turns around both lines, passing the end through the loop.
- Repeat with the Second Line: With the second line, form a loop and make five to six turns around both lines, passing the end through the loop.
- Tighten the Knots: Moisten both knots and pull the standing lines to tighten the coils. Pull the standing lines to slide the knots together. Trim the excess line.
Final Tips for Tying Fishing Knots
- Practice: The key to mastering any fishing knot is practice. Spend time tying each knot until you can do it quickly and confidently.
- Moisten the Knot: Always moisten the knot before tightening it. This reduces friction and prevents the line from weakening.
- Trim Excess Line: After tightening the knot, trim any excess line close to the knot. This prevents the tag end from catching on weeds or other debris.
- Inspect Knots Regularly: Check your knots regularly for signs of wear or slippage, especially after catching a fish.
Knowing how to tie the right fishing knots is crucial for any angler. The Improved Clinch Knot, Palomar Knot, Uni Knot, Loop Knot, Blood Knot, Albright Knot, and Double Uni Knot are among the most reliable and effective knots you can use. With practice and proper technique, you’ll be well-prepared for any fishing adventure, ensuring that you land more fish and lose fewer lures. Happy fishing!