If you’re a fishing enthusiast, then you know how important it is to have a good quality fishing rod. Whether you’re traveling to a new fishing spot or simply storing your gear, there may be times when you need to remove or install your fishing rod. In this article, we’ll walk you through the steps for removing and installing your fishing rod, so you can do it with ease.
Removing Your Fishing Rod
Step 1: Loosen the Reel Seat
The first step in removing your fishing rod is to loosen the reel seat. This is the part of the rod where the reel is attached. To do this, simply turn the locking mechanism on the reel seat counterclockwise until the reel is loose.
Step 2: Slide the Reel Off the Rod
Once the reel is loose, slide it off the rod. You may need to wiggle it a bit to get it off completely.
Step 3: Remove the Rod Sections
If your fishing rod is made up of multiple sections, then you’ll need to remove each section individually. Start with the top section and work your way down to the butt section. To remove each section, gently twist it counterclockwise and pull it apart from the next section.
Step 4: Store Your Rod Sections
Once you’ve removed all of the sections, you’ll need to store them safely. The best way to do this is to use a rod tube or case. If you don’t have a rod tube or case, you can also wrap each section in a soft cloth or towel and store them in a cool, dry place.
Installing Your Fishing Rod
Step 1: Assemble Your Rod Sections
The first step in installing your fishing rod is to assemble the rod sections. Start with the butt section and work your way up to the tip section. To assemble each section, gently twist it clockwise until it clicks into place with the next section.
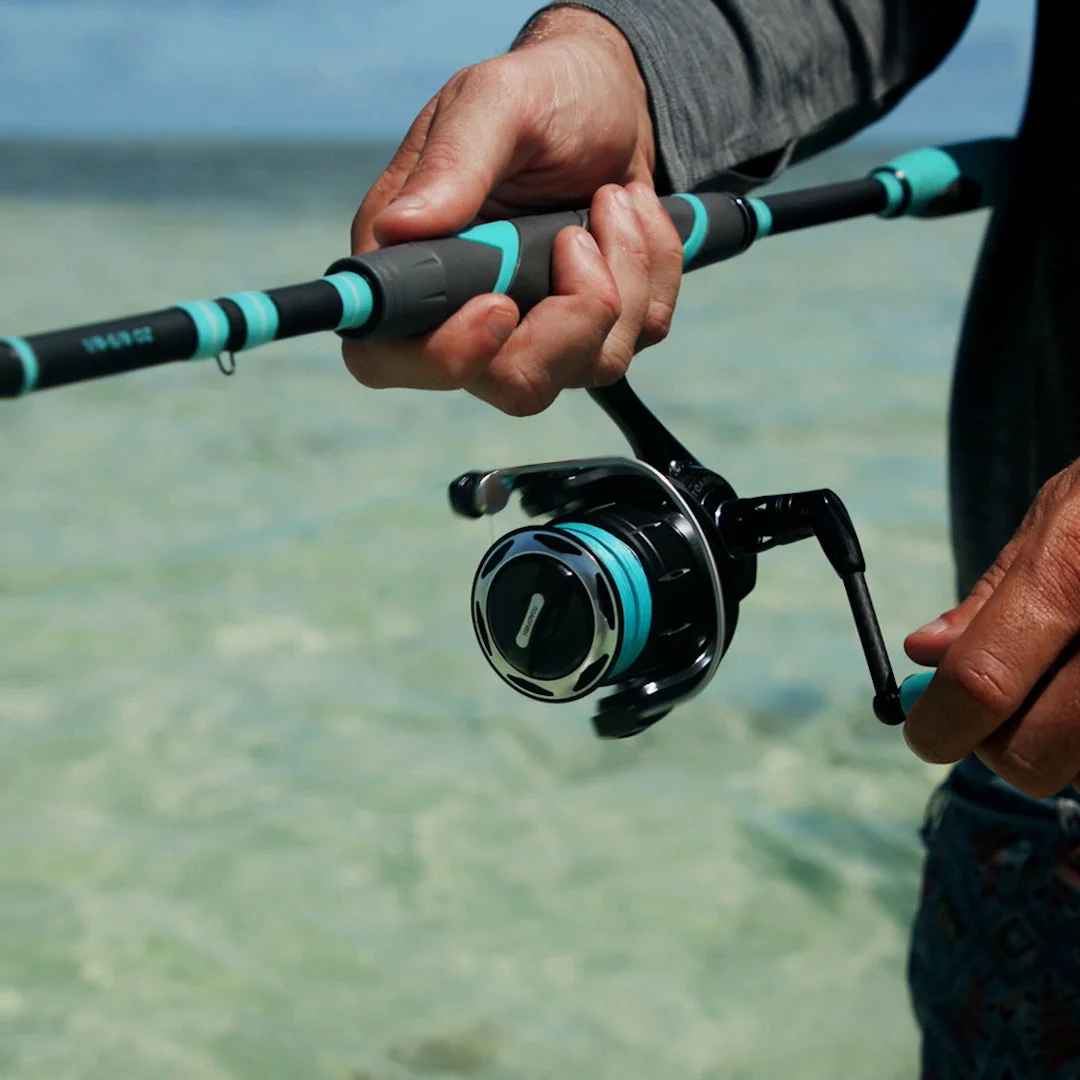
Step 2: Attach the Reel
Once your rod is assembled, it’s time to attach the reel. To do this, slide the reel onto the reel seat and tighten the locking mechanism by turning it clockwise. Make sure the reel is securely attached and won’t come loose while you’re fishing.
Step 3: Thread Your Fishing Line
After you’ve attached the reel, it’s time to thread your fishing line through the guides on the rod. Start at the bottom of the rod and work your way up to the tip. Make sure the line is threaded through each guide and the tip before tying on your hook or lure.
Step 4: Test Your Rod
Once you’ve threaded your line and tied on your hook or lure, it’s time to test your rod. Make a few test casts to make sure everything is working properly. If something doesn’t feel right, you may need to adjust the reel or make sure the line is threaded correctly.
In conclusion, removing and installing your fishing rod is a simple process that can be done with just a few steps. By following the steps outlined above, you can safely and easily remove or install your fishing rod, no matter where you are. With a little practice, you’ll be able to do it quickly and efficiently, so you can spend more time fishing and less time worrying about your gear.