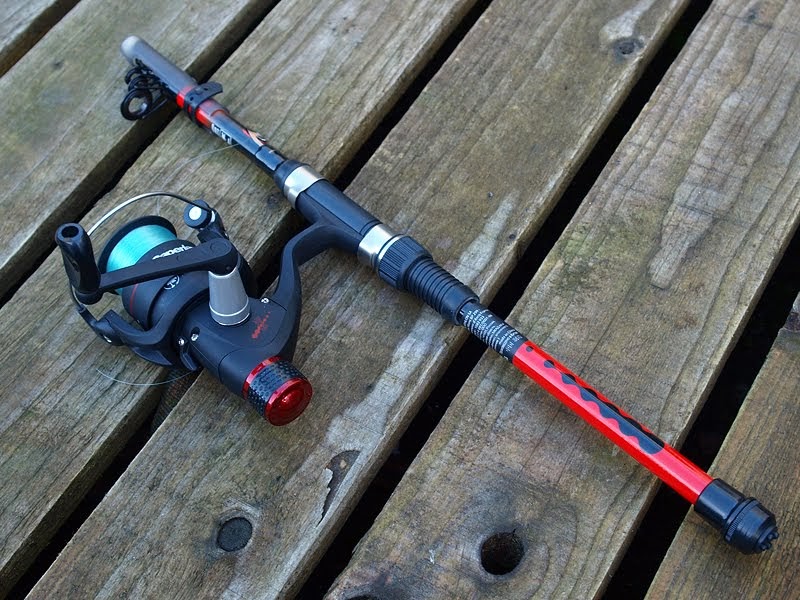
A fishing rod is an angler’s most valuable tool, but even the most well-crafted rods may encounter wear and tear over time. Instead of replacing a damaged rod, learning how to repair it yourself can save you time and money. Whether it’s fixing a broken tip, replacing a damaged guide, or mending a cracked blank, with a few simple tools and some basic knowledge, you can bring your rod back to life and continue enjoying your fishing adventures with confidence.
Assessing the Damage
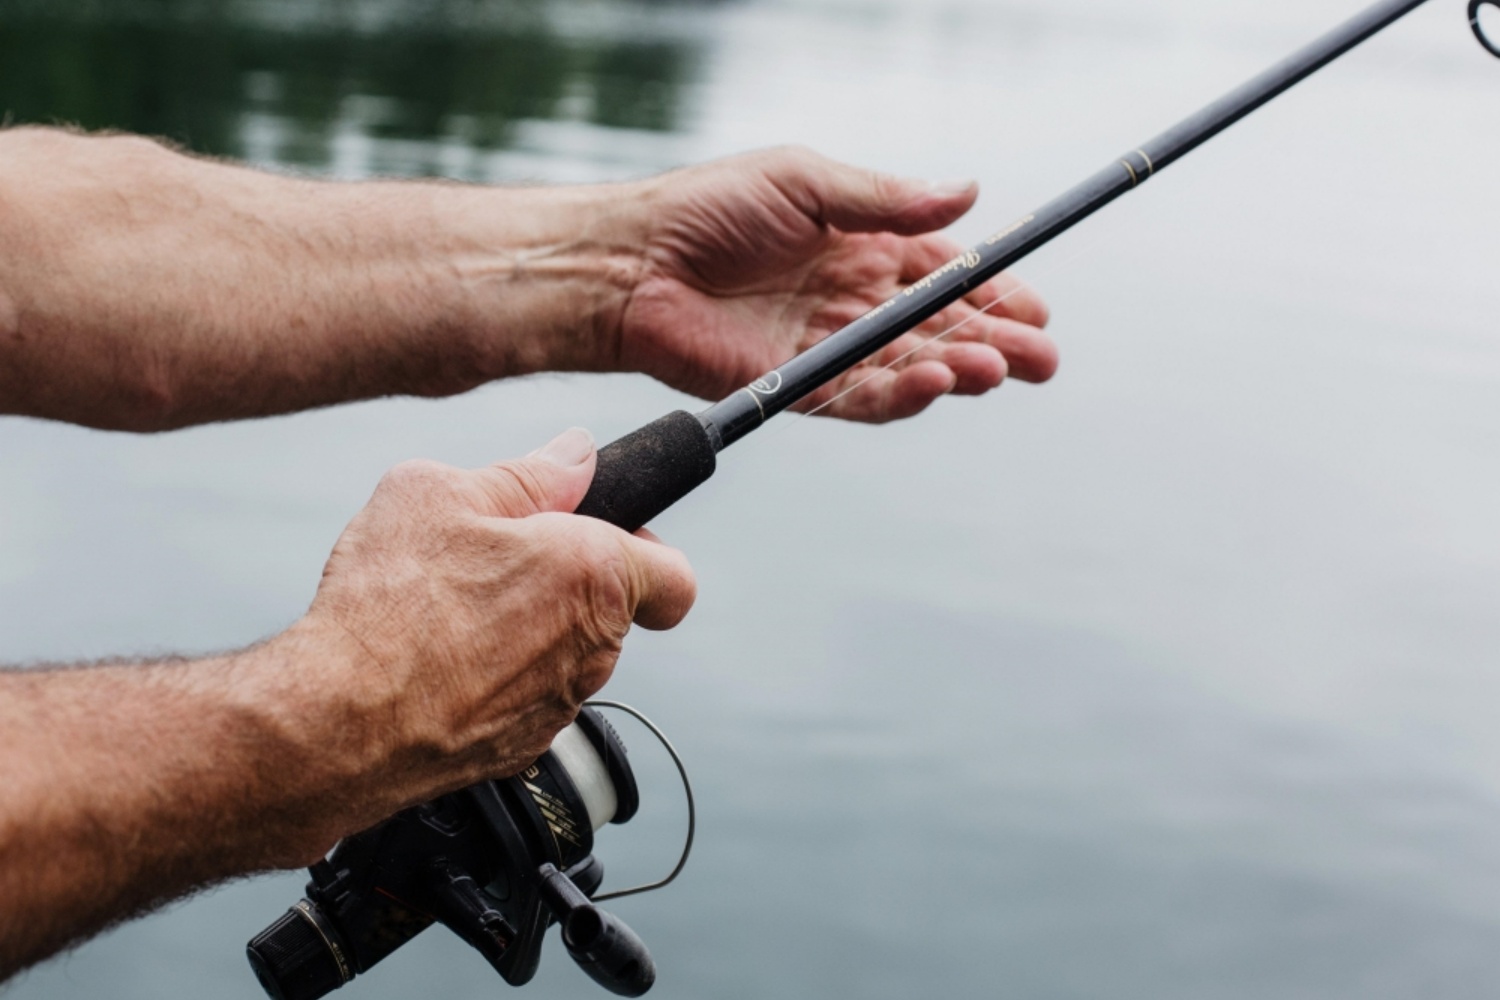
Before diving into repairs, it is crucial to assess the extent of the damage. Inspect the entire rod, paying close attention to the tip, guides, reel seat, and blank. Look for signs of cracks, chips, bent guides, or loose components. Understanding the specific areas that require attention will help you prepare the necessary tools and materials for a successful repair.
Replacing the Tip Top Guide
A common issue with fishing rods is a broken or damaged tip top guide. To replace it, you’ll need a replacement tip top guide of the appropriate size, a small tube of rod tip cement, and a lighter. Carefully remove the old tip top guide and clean the tip section. Apply a small amount of rod tip cement to the tip, slide on the new guide, and align it properly. Using a lighter, gently heat the cement to secure the guide in place.
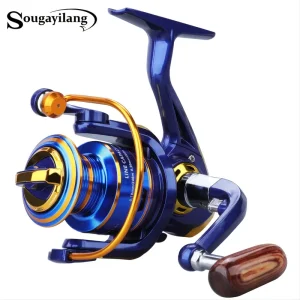
Fixing Broken Guides
A bent or broken guide can hinder casting and affect the rod’s performance. To fix it, you’ll need a replacement guide, a rod wrapping thread, epoxy glue, a rod wrapper (optional), and a guide alignment tool. Remove the damaged guide and clean the guide foot area. Place the replacement guide in position, aligning it correctly. Use the rod wrapping thread to secure the guide in place, ensuring a neat and tight wrap. Apply epoxy glue over the thread wraps for added strength and durability. If available, use a rod wrapper to maintain even tension during the wrapping process.
Repairing a Cracked Blank
A cracked fishing rod blank can weaken the rod’s structural integrity. To mend it, you’ll need a repair kit with carbon fiber sleeves, epoxy resin, and a heat gun. Clean the cracked area and insert the carbon fiber sleeve over the crack. Apply epoxy resin around the sleeve and ensure it fills the gap completely. Use the heat gun to cure the epoxy, creating a strong and seamless bond. Sand down any excess epoxy for a smooth finish. This repair method is ideal for minor cracks, and major cracks may require professional assistance.
Tightening Loose Components
Over time, reel seats and handle components may become loose due to constant use. To tighten them, you’ll need a wrench, epoxy glue, and a rod wrapping thread (for handle components). Apply a small amount of epoxy glue to the loose component’s threads or inside the reel seat. Carefully tighten the component with a wrench, ensuring not to overtighten. For loose handle components, wrap rod wrapping thread around the handle’s base and apply epoxy glue. This will secure the components in place and prevent them from loosening further.
Repairing your own fishing rod empowers you as an angler, allowing you to extend the life of your beloved tool and maintain its peak performance. By understanding the techniques for fixing broken tip top guides, damaged guides, cracked blanks, and loose components, you can confidently tackle common issues that may arise during your fishing journeys. As you develop your rod repair skills, you’ll gain a deeper appreciation for your fishing gear and the ability to enjoy countless memorable moments on the water with a rod that feels brand new.